
Glittered wine glasses. You see crafty things like this all over Pinterest, Facebook, Twitter, etc. As you can gather from the title/general look of my blog, you can deduce that I like glitter. You might even dare say that I love glitter. Well, you wouldn’t be lying. It just so happens that I also love wine. What college-aged girl doesn’t? Awhile ago, I decided to combine both of my loves into the ultimate project.
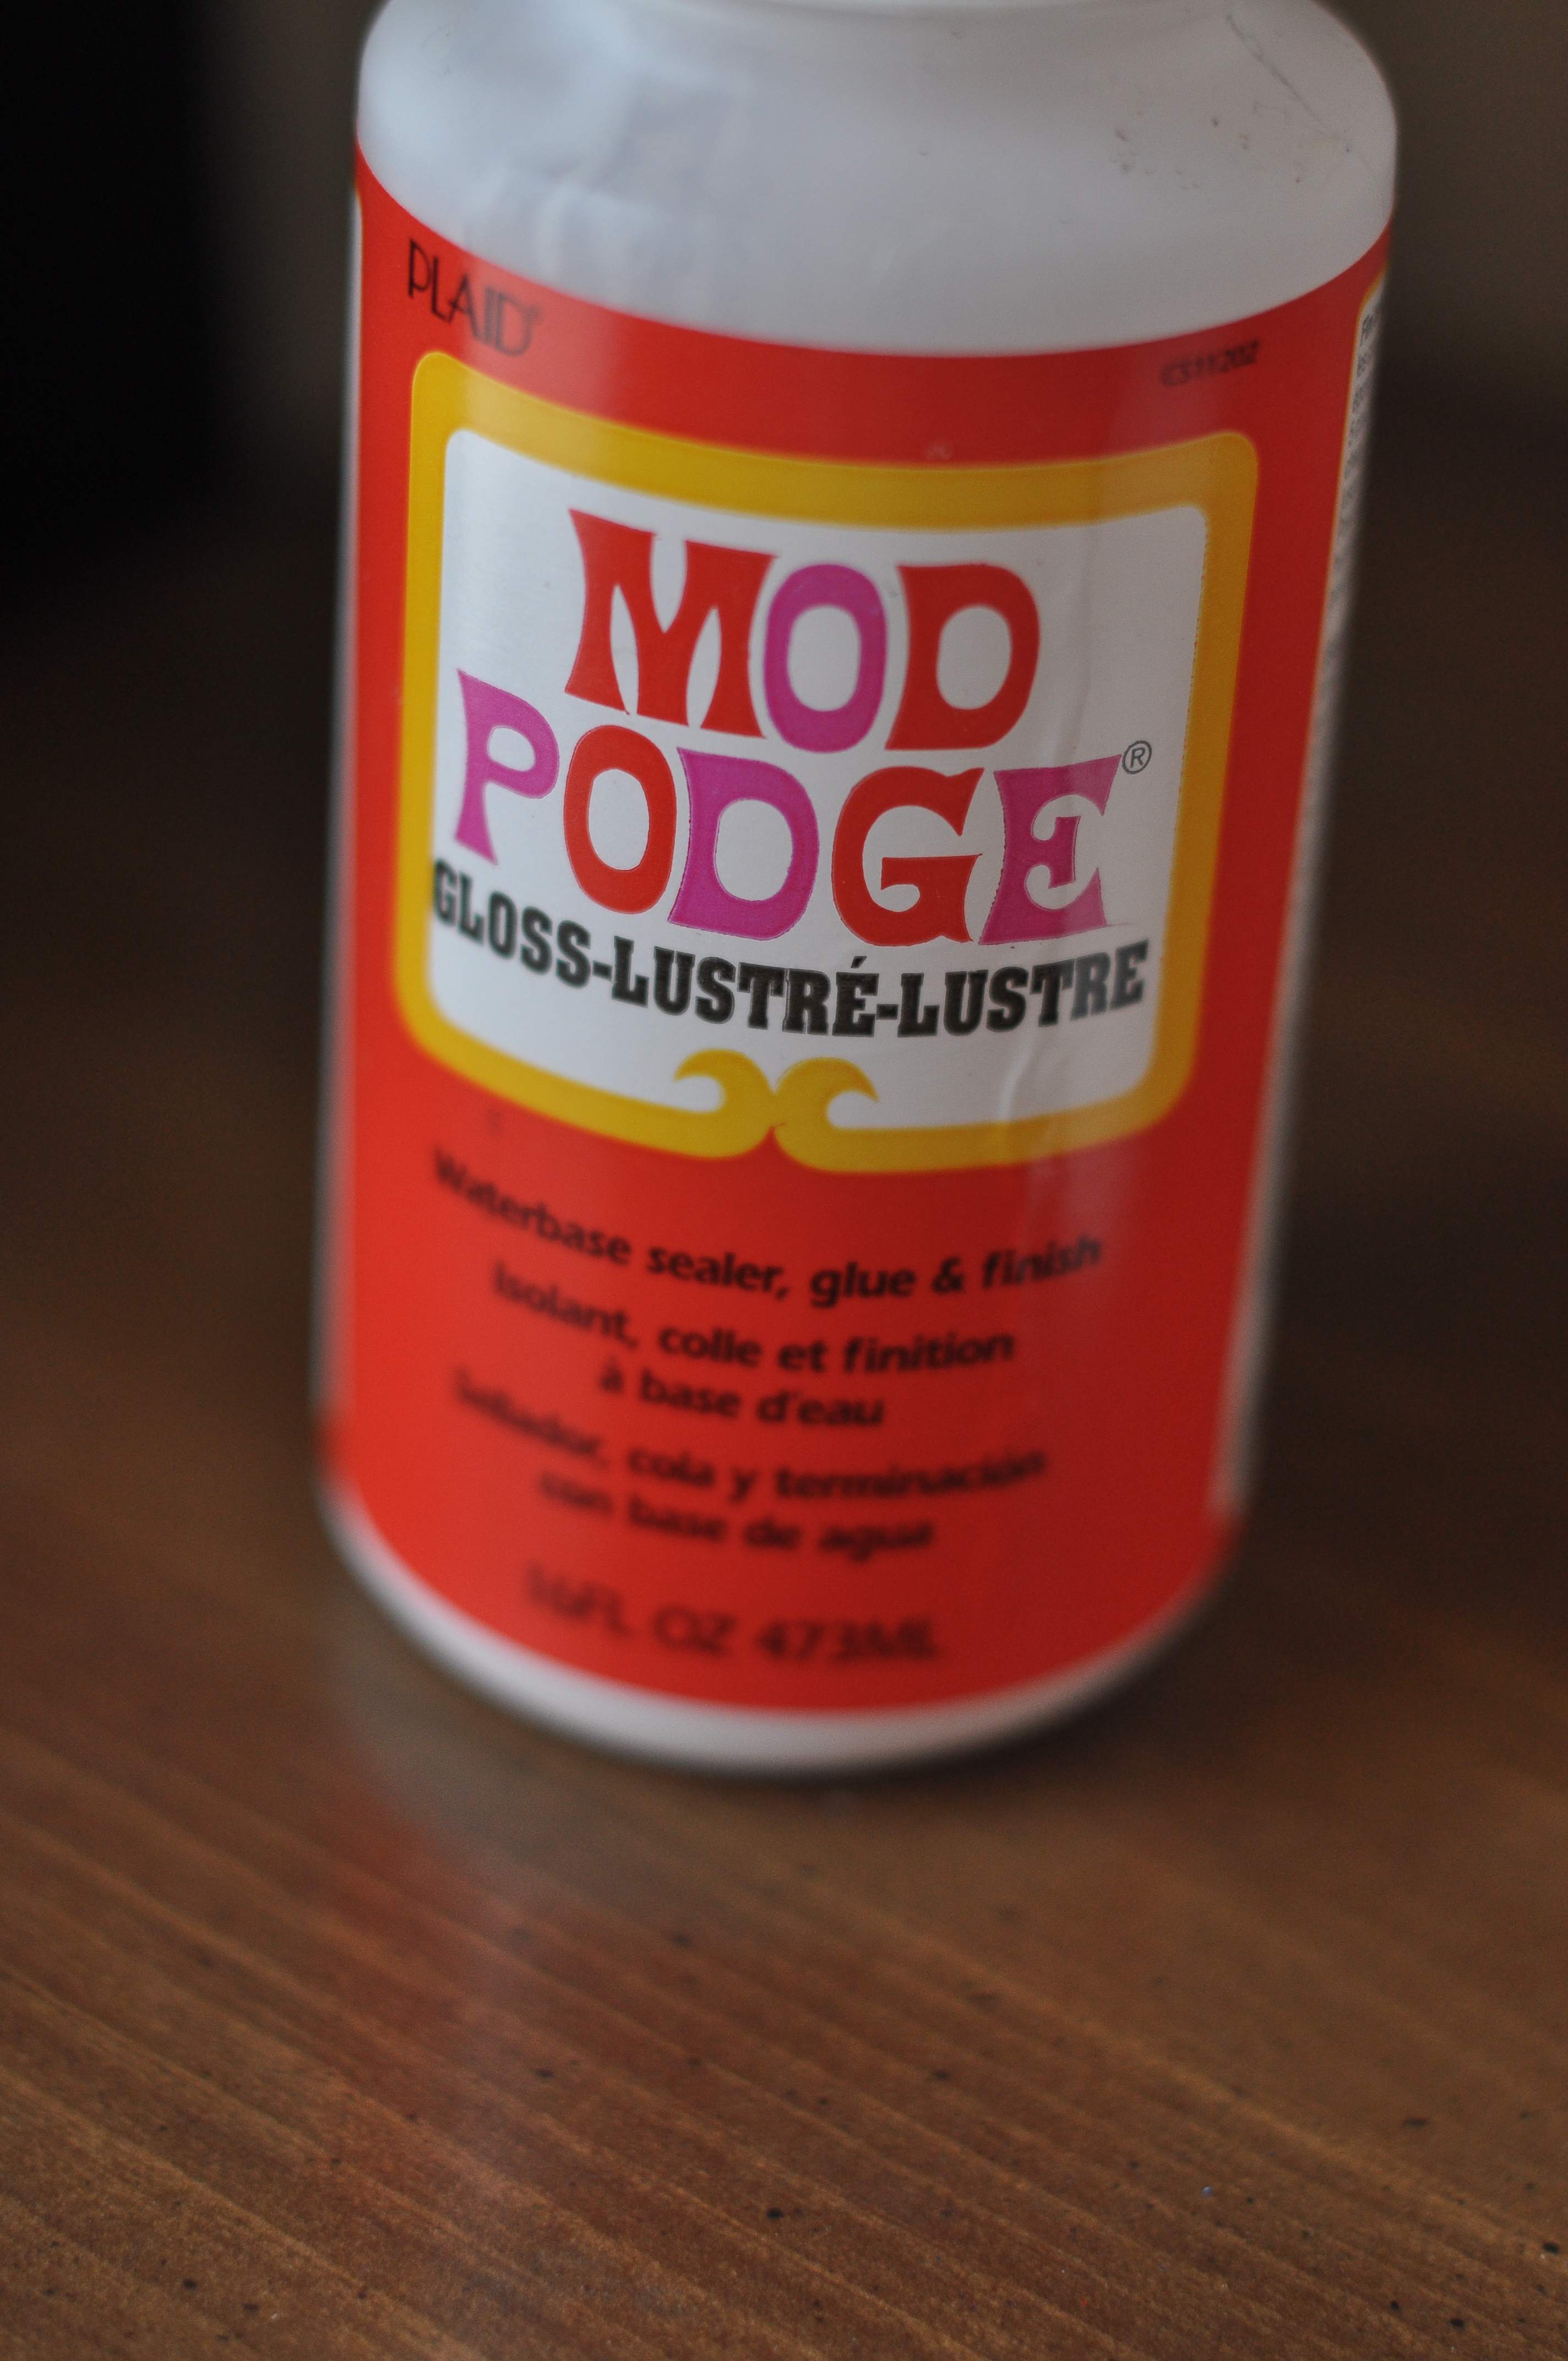
Sometimes being an art major pays off. You learn tiny little secrets that no one else really knows..which is actually a lie, because you’re not the only art major in the universe. Anyway, my favorite super secret item that isn’t really a secret: mod podge. The label says it’s a “waterbase sealer, glue & finish.” I just call it magic in a bottle. It is the backbone for this process.
Here are the basic supplies that you will need for this project.
–Mod Podge (I always have a large jar of mod podge on hand, but they do sell a smaller size. You can get it anywhere from craft stores (Shout out to Michael’s!) to Wal-Mart)
–Small clear squeeze bottle (I got them in a 2-pack in the wedding/cake decorating section at Wal-Mart)
–Paintbrushes (Any size will work unless they’re gigantic)
–Blue Painter’s Tape
–Glitter (Any grain, I prefer super fine. Any color(s) you like!)
–Wine glasses (Or vases, or jars. Any kind of glass object you want to make beautiful)
(P.s. if you click on the pictures in the post, you can see them bigger!)

So, the first thing we’re going to do is create a base for our drip. A solid layer of glitter all over the area covered is what we want. Example:

This is a base layer that is already done. My personal preference is to not glitter all the way to the lip of the glass. I do this only because I’d imagine most people wouldn’t enjoy the texture of the glitter against their lips as they’re drinking. To prevent the glitter from reaching this area, I use blue painter’s tape like so:

I don’t recommend using any other kind of tape. Masking tape will leave residue. Packing tape would just be a nightmare to both apply and remove. Stick to the painter’s tape. Trust me. Next, we’re going to brush on a thin layer of mod podge. I put my hand inside the glass for a stable grip. I apply mine just to the top of the stem of the glass. This is what it will look like:


Now it’s time for the magic to happen. We will now apply the glitter. Please contain your excitement, because I’m having difficulty. I know this bland boring text can’t express it, but trust me. I am GOING CRAZY OVER HERE. Okay, so, pick out the color that you want as your base! I picked a deep gold color. Who doesn’t like deep gold?! People without a soul, that’s who. Anyway. Here’s a picture of some of my ridiculous glitter collection along with the initial sprinkle application:


Mmmm yes… just sprinkle it on like that. Go all around. Be thorough! Soon you will have a smooth coating of glitter. I prefer to use super fine glitter. It’s less distracting when you’re holding the glass. Some of the chunkier glitters feel a little too rough and the feeling takes away from the visual aesthetics.
If you’ve done exactly what I say, which I’m sure you have, this is what your glass should now look like:

Now all we have left to do is seal the coat! This is important because otherwise, over time, there’s a good chance that microscopic flecks of glitter will infect everything you own. Unless you’re like me.. in which case, everything already has a fine coating. You know how some people go over to someone else’s house and leaves covered in pet hair? At my apartment, you leave covered in glitter. I might be biased, but I think mine is a much better alternative. I digress… Before you seal, you must brush off the excess glitter.
Let your glass dry overnight. At the very least, half a day..somewhere around 8 hours. If you disturb the mod podge too soon, it will not be pretty. Simply take a dry paintbrush and brush off the excess glitter. This won’t remove all of it, just the stuff that isn’t already stuck to the glass. To seal it, just coat it in another layer of mod podge! I hope you’ve left the tape on! Keep the paint on while doing this! You could always take it off first, but then you’ll have a weird clear line of mod podge. Here’s a sample of what it will look like:

I know what you’re thinking. “But Nicole, your tape isn’t on!” Well, my dear reader.. that is because I had already sealed this glass and I just needed an example for you. Do as I say, not as I do. I sound like my parents. Anyway. After that, let your seal dry for another half day. (In all honesty, you could probably get away with 3-4 hours wait time, but I want yours to turn our perfect if you do it) When it’s all sealed, it will look like this:


Gorgeous, right? You could totally leave the glasses like this if you want, but I like to take it another step! Now it’s time to get that squeeze bottle. The fine tip is perfect, because now you’re going to squeeze a little line of mod podge around the top line of the glitter. Gravity will pull that wonderful mod podge down and create lovely drips all around the glass. The more you squeeze out, the longer your drip lines will be.


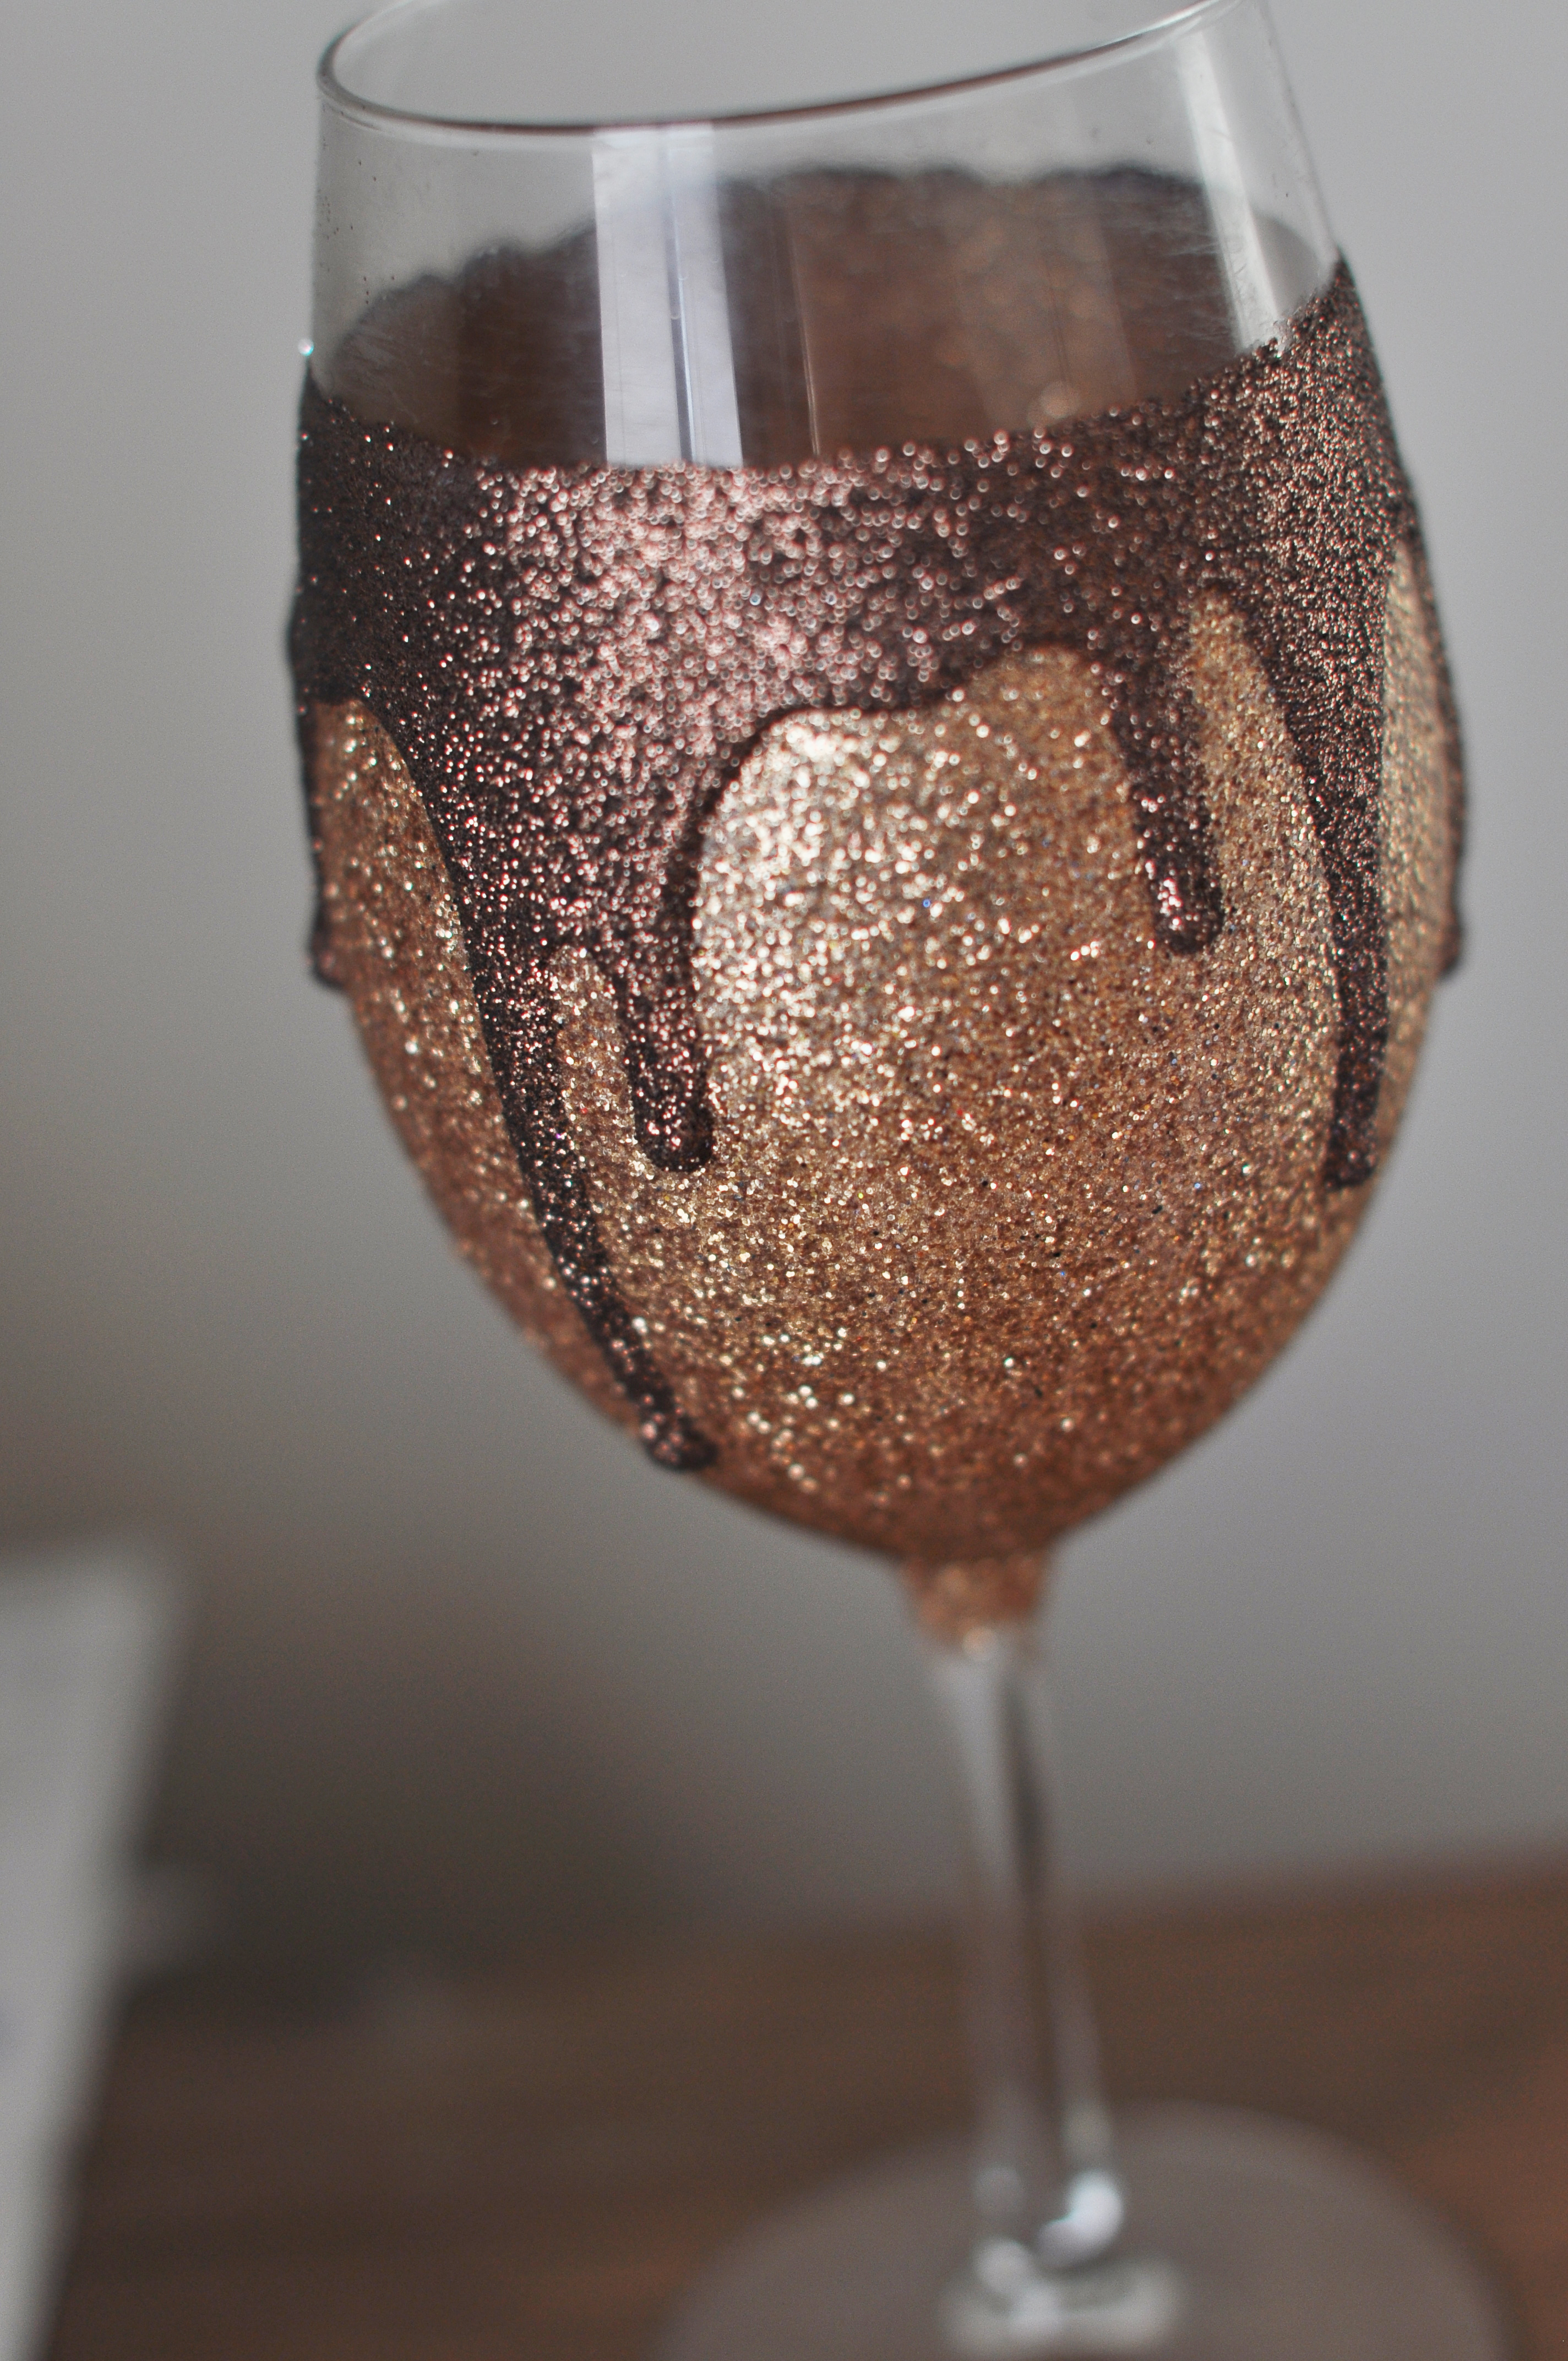
Now, wait. Wait around 5 minutes. This will allow the mod podge to stop flowing. If you pour the next layer of glitter on before those little drips are done running down the glass, your coat of glitter will fall apart as it keeps on traveling. You want it to the point where it won’t move any more. Now, go crazy! Pick out a different color of glitter, and sprinkle all over again! I chose a color called “chestnut.” I like brown and gold together. This is what your final product before drying will look like:

Now, you let this layer dry overnight. I mean it this time. Those drips are really thick and will take longer than your waking hours to dry just right. Then you did like you did before. Brush off the excess (which you can see above on the clear part of the glass) and seal the drip layer. Let the seal dry for a couple of hours, and BAM. You. are. done.
Now you just sit back, relax, have some wine, and admire your hard work. Just a friendly note, only hand-wash these glasses. When you apply hot water, the mod podge will turn white again, but unless you scrub a ton, it won’t come off. Don’t be alarmed if it turns a lighter color when you’re washing it. It will soon return to its normal clear state.
Whew! I am incredibly long-winded when I take on a project. Kudos to you if you made it this far 🙂 I hope you enjoyed my first DIY post!
-N
